This game is an adaptation of the spelling activity used by most schools (at least all the ones we have attended in the UK and elsewhere) called "Look,Say,Cover,Write,Check" The student is given a book with columns in; in the first column is the word they are learning to spell; they look at it, spell it out loud, cover it up again, spell it from memory, uncover the original and compare (usually this is done several times for each word). As a method for teaching spelling this is quite effective. As a method for teaching spelling to A this is just another thing that does not engage him for more than 30 seconds if you are lucky.
Whilst pondering how we could get him to engage with spelling I came across this game to teach younger children to read sight words. It's called
Roll Say Keep. The players roll a dice , pick the corresponding word from a gameboard, say it, if they say it correctly they get to keep the card, player with the most cards at the end is the winner. I thought it could be adapted to solve our problem.
So here is our blend of the two things to teach spelling; and best of all you can endlessly adapt it to the words YOU want to learn.
Number of players: 2 or more
You will need:
1 die
1
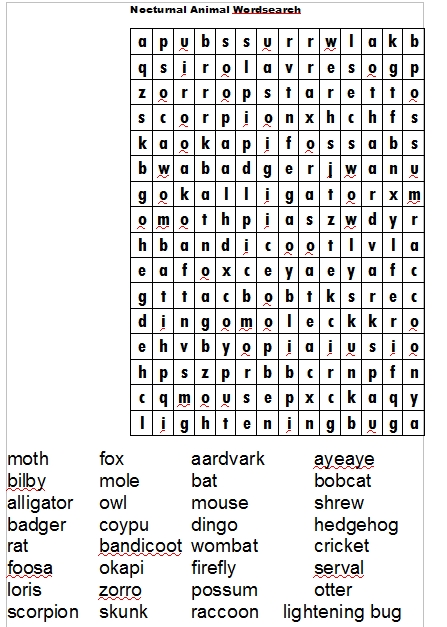
gameboard
Words for spelling written on pieces of cardstock
Pencil and paper for each player
How to play:
All players roll the die, highest number goes first, play continues clockwise round the table.
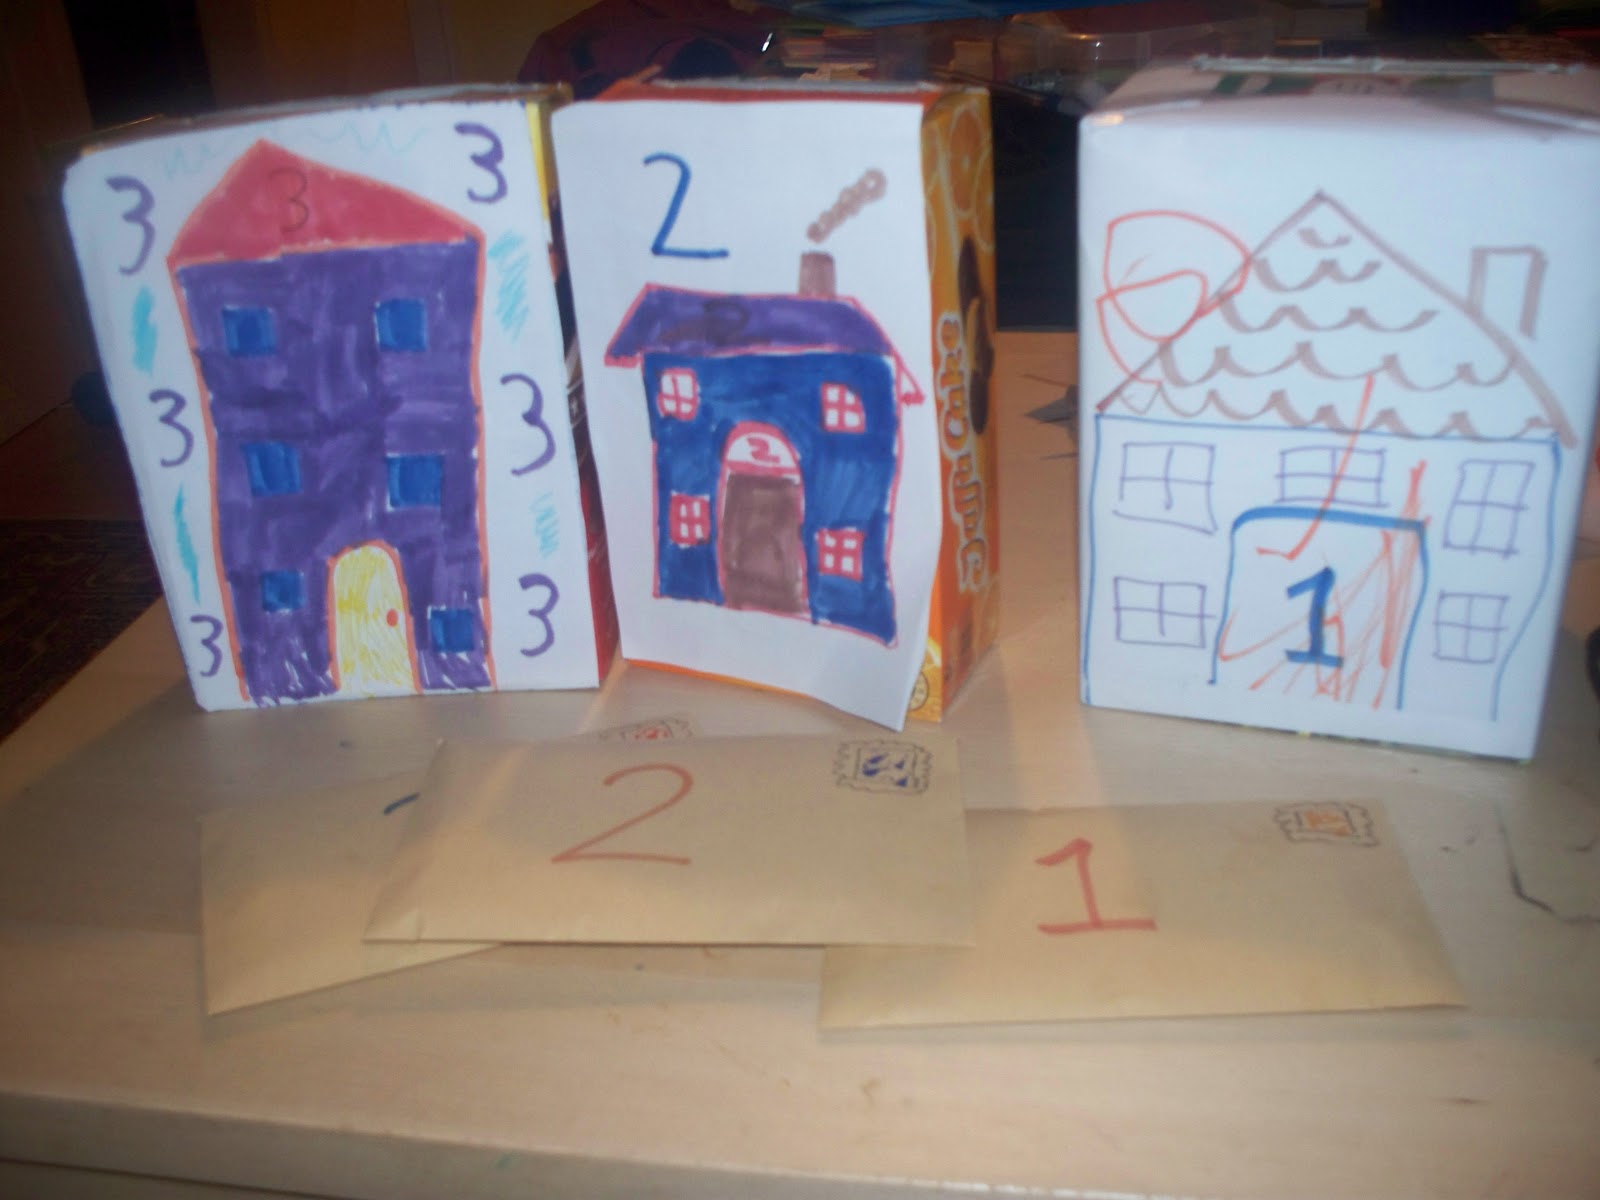
Place one word card face down on each space on the gameboard. Place the remainder of the word cards face down to one side.
The player rolls the die and turns over the corresponding card. They then have to read the word and spell it out loud. The card is then turned face down again and the player tries to spell it on their paper. The card is turned back to check the spelling. If it is right they keep the card; otherwise the card is turned face down again and remains on the board.
Fill any gap on the board with the next word card, face down of course.
Next players go.
Continue until all the words are used up.
Highest number of cards is the winner.
VARIATION: for children in different years (like me!) have a gameboard and a set of words each, take turns as before but they will each be learning words chosen for their ability.
BTW if you are puzzling over which words to include and your child is following the National Curriculum either at home or at school (i.e. the UK curriculum)
this leaflet by the National Literacy Strategy outlines what kind of words will be encountered year by year based on the Programmes of Study up to Year 6.


