Showing posts with label preschool corner. Show all posts

Monday, 10 October 2011

Pre-writing Cards and sandbox

I found this idea via Pinterest. For those of you who don't know Pinterest is a virtual pinboard where you can pin the ideas that interest you, as found on the web, to share with the rest of the world.  It has proven far too addictive for me as can be seen by my total number of blog posts of late!
Anyway, in this case the idea is a picture of a product from "Montessori n such".


"Montessori n such" is an online store and they were selling pattern cards for copying patterns in a sand box.  You can find them on sale here for $18.50.  Bear in mind this is just for the pattern cards - the sand box itself is sold separately.

 I know from past experience with A that many younger children who don't like using pencils and paper to make meaningful marks can often be tempted by different textured drawing materials so I decided to recycle an old baking tray in lieu of a no-expense-spared sand tray and used a standard word processing program (in my case the FREE Open Office) to produce some simple printouts that can be popped in page protectors or laminated.  Of course we can also add geometric shapes, numbers and letters to the ideas of patterns to copy as well.  The important thing to note is that the patterns are intended to be followed left to right (as in normal letter formation) so each pattern should have a start point marked as in the original product.
In place of play sand in the tray you can use salt, sugar or flour. A darker tray works better as it gives a better contrast.
Here is a picture of our cheap-skate version of the original in use.


All in all it was a great success.  Although B did follow the parallel lines in the pattern he did more than the two on the sheet, still this bodes well for the future.  Who needs to spend over $35 for a tray and pattern cards!


I Can Teach My Child

Thursday, 31 March 2011

Letter S roundup

Over the last few days we have had coughs and colds and so we have had extra children at home.  This is not as bad as it would seem because although the activities that I am doing with B are for preschoolers R and A want to help B to learn so they join in which can (sometimes) encourage him to do stuff for longer than 10 seconds!  Normally although we try to do letters and numbers and the like I am lucky if it holds B's attention for more than one activity.  That's OK though as I have a kind of unwritten rule and that is that it is easier for anyone to search for an activity if it is posted on its own in a blog post.  For once I am breaking my own rule. Here is a round-up of some of the things we did for the letter S over the couple of days.

spotty sticker s - using small sticky dots rather than larger stickers gives those little fingers more of a workout.  B did this one all on his own.

paper plate spiders web - again done by B, we did intend to add a spider but that part of it was "too scary".  R insists on calling this a "toddler dreamcatcher" :)


Letter s minibook from First School - still needs to be coloured in.  B not into this although he did do some other artwork on the table instead!

Scarecrow playdough counting mat (number 10)  and Squirrel Playdough mat (number 5) from Tired Need Sleep


Scrambler size sort from Tired Need Sleep.  B was not into having photos taken of these and kept scooping them up to take them away so here is part of one very dodgy photo just in case you don't know who Scrambler is (Bob the Builder would be horrified ;) ) there are actually 8 shapes.


Lower case letter s  and upper case s workbooks from Sparklebox (too hard for B but a good link nevertheless)

paperplate sun - we liked the painting part as you can see, the idea was that when the plate was dry we could snip round the edges (scissor practise) this did not go down well with A ("you're not cutting my little beauty!") or B so we gave up on that bit; but there is nothing to stop you extending the activity by cutting round the edges and adding a smiley face once the paint is dry.


sunshine alphabet file folder game - file folder games always a winner because they are so structured.

Snowman size sort from Confessions of a Homeschooler (along with other s is for snowman ideas here) B is OK with 3 snowman but struggles with more than this - getting there though.

Starfish split pin animal - part of this set to download from Sparklebox (made by R but played with by B!)
 
there is also a shark in the same file (made by A)

We also raided our book shelves and had stories from the Thomas series about Skarloey and Spencer.  I hope you find some of the links useful - and if you do let me know.


Thursday, 27 January 2011

Letter B: b is for BIG: Magnifying Glass Matching Game


B found one of our magnifying glasses this week and has been constantly wandering around with it glued to one eye.  I wanted something for our "big and little" theme so when I found this cute matching game via this post at Attached Mama that used a magnfying glass I knew it was the one for me.
The idea is pretty self explanatory - examine the little pictures with the magnifying glass and match to the bigger pictures.  There are basically three themes covered, animals, transport and fruit so you could separate them into themes and make three separate file folder games if you wanted to.
Needless to say B loved it!


Monday, 24 January 2011

Learning Resources:sandpaper letters and numbers

Recognising letters is a precursor to learning to read.  Most of the letters that you read are lowercase so why start with uppercase letters? "Been there, done that" as the saying goes.  Yet whenever you see letters written down in learning materials it is always the uppercase letter that is displayed first - interesting convention huh? No? Just me then.
Anyway after a bit of a false start I have started again with B and learning letters (he just wasn't interested last year).  This time however I decided that it would be a good idea to take a leaf out of the Montessori book and use sandpaper letters for tracing with his fingers.
Now as you can see from here these things come in around $20 (or more) for each case (or here for UK customers at £25 per case).  Way too much for most budgets I suspect but it is fairly simple to make your own.

  1. First get some fine grade sandpaper - after all I want texture but not to hurt his fingers. 
  2. Then you need to get something to mount your letters onto.  "Proper" Montessori letters are mounted onto wood but then they are designed to be used day in and day out by lots of kids so I decided that thick card would do. I didn't have any mounting card (the kind used for mounting pictures in frames) when I went to look.  I have a feeling it has been used by the pink sparkly kid for drawing and making her own books out of... so instead I recycled some of the double thickness corrugated cardboard moving boxes we still have kicking around with coloured paper stuck on the front.  Not so pretty but it will do.  Choose the colour of your backing card carefully - again "the real thing" uses different colours for vowels and consonants.
  3. Print your letters out using a sans serif font (that is a font without the "twiddly bits" like arial, comic sans or d'nealian).  A font size of about 400 point will give you letters of about 4-5 inches high depending on the font you use.  Cut these out.
  4. Stick these onto the back of the sandpaper sheets -saves on fiddly tracing ;)  .  Flip the letter over before you stick on the back of the sandpaper, forget this at your peril or all the letters will be mirror image!
  5. Cut each letter out using a craft knife (you can get cheap ones from discount stores  - sandpaper will ruin your scissors!) and stick onto the card rectangles.


Whilst we were at it we decided to make a set of numbers too.

 Let the learning begin!


Sunday, 29 August 2010

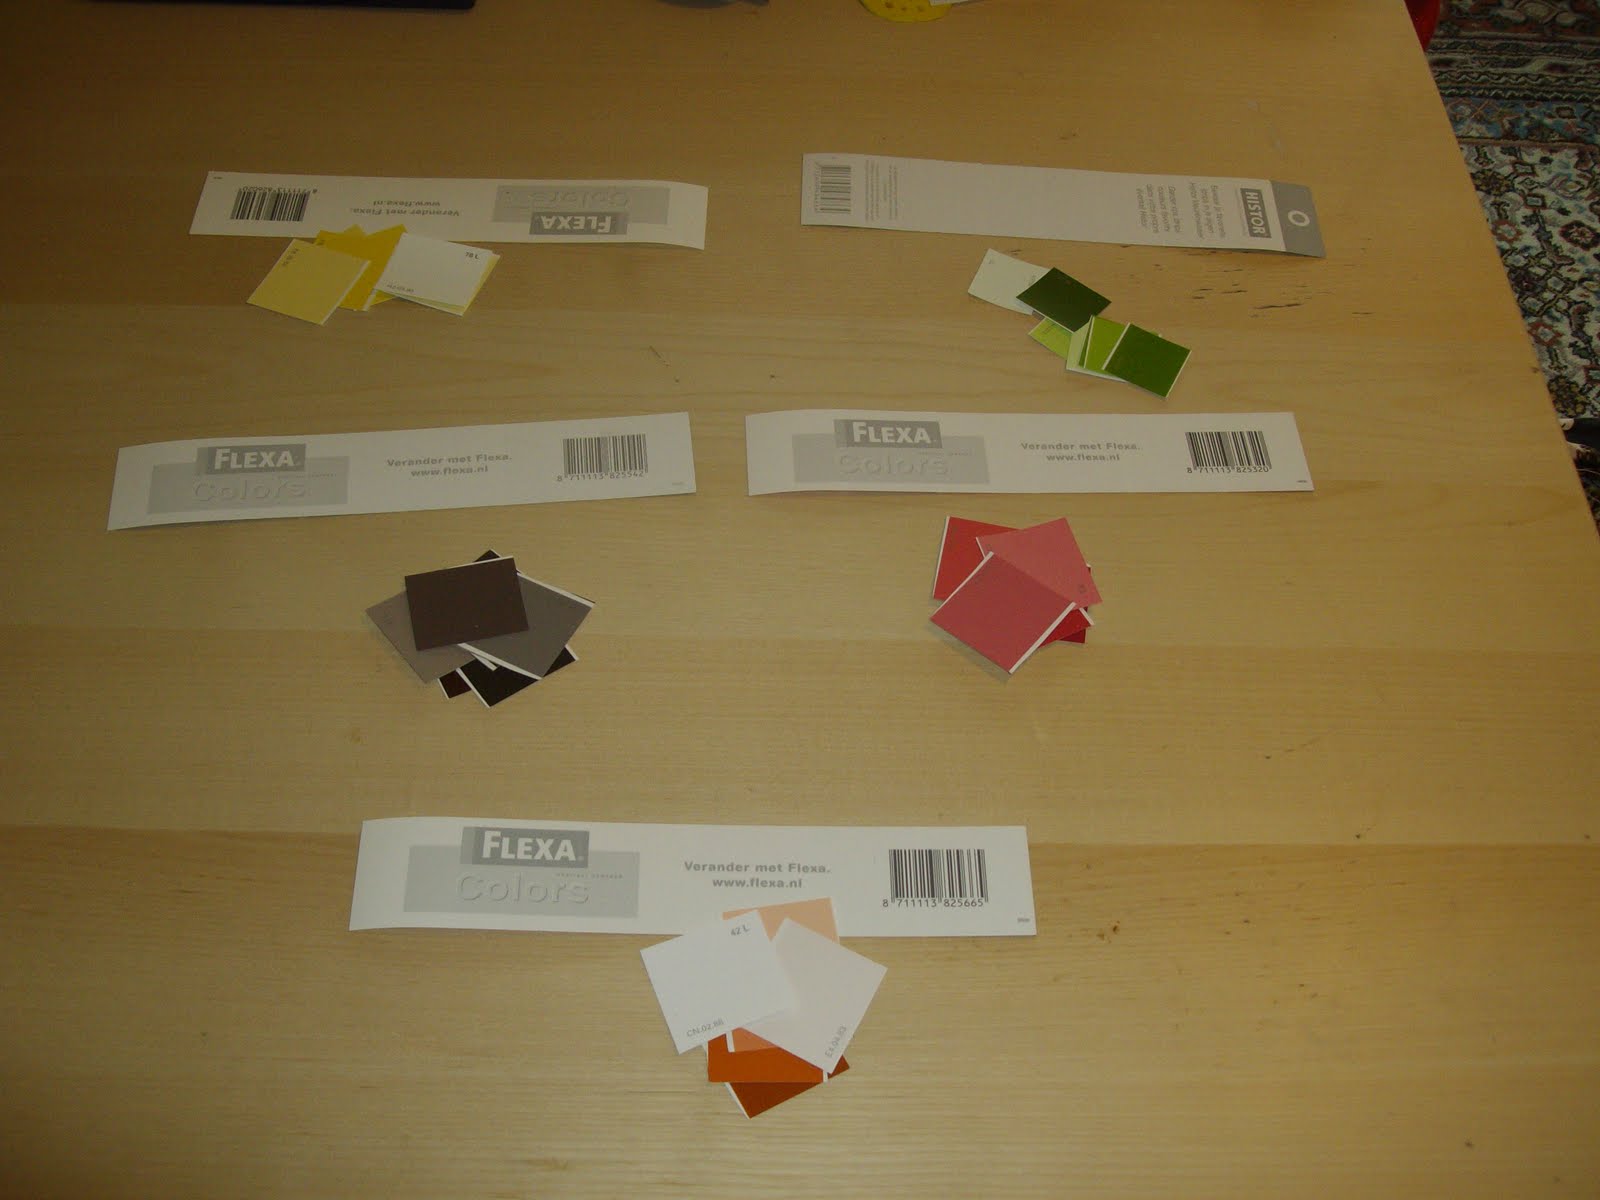
Pre-Maths: Self checking colour grading game.


This is a simple game for preschool or early year students when they are practising terms like light/dark and lightest/darkest when learning about colours.

Use paint colour strips from the local DIY outlet that have shades of the same colour on the strip.
Cut in a strip half length ways.
Keep one half as it is.  Cut the other half into individual colours.

Have the child arrange the single colours from lightest to darkest (or vice versa).  Then they can check the order themselves by comparing it with the intact half.

preschool corner

Letter A: a is for apple: dominoes

More dominoes for colour matching - this time for an "a is for apple"/fruit/nature/autumn/plants/farming theme.

  Click here to download the file for yourself.


preschool corner

Friday, 27 August 2010

Letter A: a is for astronaut: dominoes

Astronaut dominoes.  Use for colour matching and learning or to match with a space theme or along with other "a is for astronaut" themed activities.

We stuck the pages onto an opened-out cardboard box to make them stronger before cutting along the marked lines to make individual dominoes but you could laminate them for a longer lasting set.

Download the pdf from here 
As of Feb 2021 this link no  longer works - please use this post instead for a remade version.


preschool corner

Wednesday, 5 May 2010

Colours and Sorting:Fruit Loops

Yesterday B and I worked on the essential pre-number mathematical skill of colour differentiation. Sounds impressive doesn't it! Here's how- take one box of Fruit Loops...... (and remember to take one very fuzzy photo:) )

I have linked this post to the Homeschool Creations Preschool Corner carnival - if you are looking for inspiration for your preschoolers this site (or indeed other ages) this site is an excellent resource.