Showing posts with label cakes. Show all posts

Monday, 1 January 2018

10 Chocolate Cake recipes to try this year


For my son B if it is cake it has to be chocolate.  In honour of his birthday this month here is a round up of 10 of the most delicious looking recipes from the web.

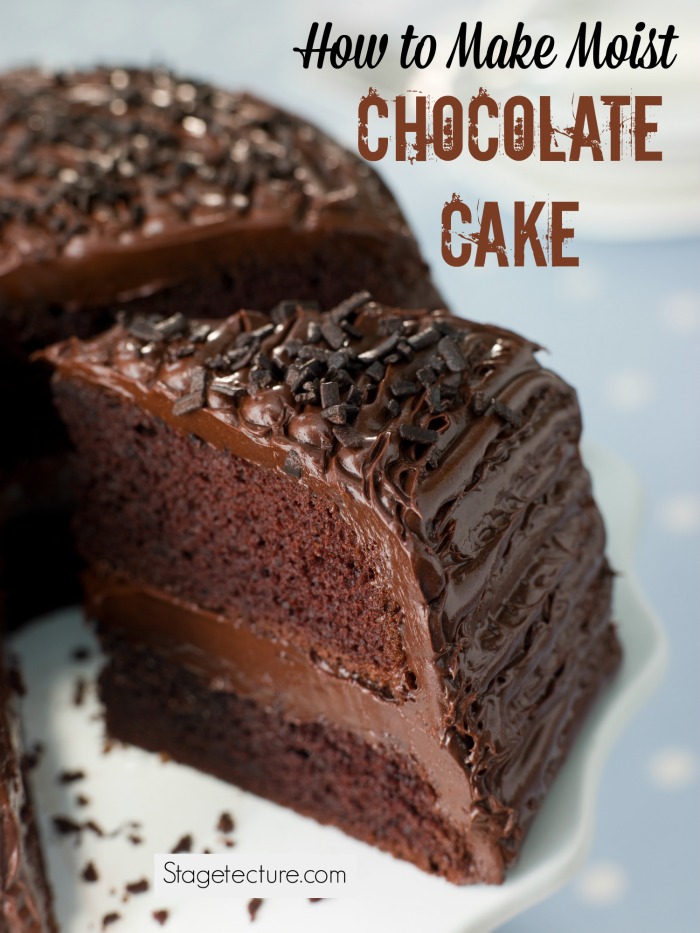
1.  Chocolately and moist, a good basic cake from stagetecture and one which everyone will like.

Recipe Image

2.  Bananas and Nutella, this would be the one for A.  Strictly "Plain Jane" in terms of decoration  so not strictly a birthday cake but good for when you are looking to use up over ripe bananas this one is from Baking Queen 74


3 If it is white chocolate then it is just for R.  Pure and unadulterated this simple looking vanilla and white chocolate cake is from complete recipes.


4.  1970's classic that Dad loves, cherries and chocolate make the best combination.  This is an eggless version of the Black Forest Gateau from Super Golden Bakes.


5. Chocolate, Pumpkin and Caramel.  This spectacular layer cake from Something Swanky screams autumn.

6. Strictly speaking a banana layer cake with chocolate ganache, this dark chocolate, banana and caramel layer cake from flour covered apron has my name on.


7.  Raspberries and chocolate.  These cupcakes from Taste and Tell have a raspberry filling and a raspberry meringue topping.  Yum.


8. A also loves Oreo's.  This spectacular looking Oreo Drip Cake is from Jane's Patisserie


9.  This is one cake which reminds me of After Eight mints.  Chocolate Mint Layer cake from Bird on a Cake


10. Finally we could not leave the list without a darker than dark layer cake like this one from Lovely Little Kitchen
Related Pinterest Boards:
Cake
Recipes

Saturday, 6 August 2011

Happy 8th Birthday A! Astrosaurs Birthday Cake

A is 8 tomorrow and as usual had very definite ideas for both what he wanted to do and what his cake should look like; it never occurs to him that what he is asking for might not be something I can make!  For the cake he requested the DSS Sauropod spaceship from the Astrosaurs series of books by Steve Cole.
You can just about see the DSS Sauropod in the background, even in the original cover it is only a cm or so across.
this is the image uploaded to Wiki.

Here is the final cake.

One day he will request something impossible - happily not today!


Monday, 24 January 2011

Cooking for Kids: Gruffalo Cake

Since B didn't have a "proper" cake for his birthday, just some brownies, it was felt generally that he was owed one. A and I found this recipe for a Gruffalo Cake on the official Gruffalo website.
Here is our version:

Unfortunately the intended recipient although he loves the Gruffalo story and the Gruffalo's Child even more thought it was "scary" and wanted it in any other room than the one he was in :(

Friday, 6 August 2010

Sunshine Birthday Cake

A is 7 tomorrow! He wanted to help with his cake this year, and wanted his cake to look like a sun.
Here is the result.

One chocolate cake with buttercream filling (made by all 3 kids), covered with a layer of white fondant icing and then details added in red, orange and yellow fondant icing.  We deliberately kept the design simple so it should be impossible to tell which bits of the decoration are mine and which are A's.

Wednesday, 4 November 2009

cooking with kids:Basic Chocolate Cupcakes

My eldest son loves making cakes. If his sister is out on a play date and he gets to choose the activity it is always making cakes or biscuits. Making cakes is magical for children- you get to make a sticky gooey mixture (breaking the eggs in is always fought over as is sifting the flour) then they put it in the forbidden oven and it changes into something that looks and feels totally different, smells wonderful and you get to eat it as well - an activity that uses all the senses. This recipe is a very basic chocolate cupcake which you can decorate when cool if you choose; I must confess this is usually what we plan to do but somehow they all get eaten before this happens! It also provides opportunities for counting out the cupcake cases, using a spoon to put the ingredients on the scale and older children can say whether more or less is needed with each ingredient, how much or how little you make of it is up to you.

The equipment you will need (apart from an oven!) - scales to weigh the ingredients, spoons to measure and mix with, a balloon whisk (or electric whisk) to mix everything together, a 12-hole baking tray and paper cupcases to put in it,large mixing bowl, sieve.
The ingredients you will need:
125g butter or margarine
125g caster sugar
2 eggs
125g self-raising flour (minus one large spoonful)
cocoa powder, about 1 large spoonful
splash of milk

Preheat the oven to 200 degree Celsius or gas 4. Lay out the cupcake cases in a 12-hole baking tray.
Have the butter or margarine at room temperature so they will mix easily. Mash together the butter and the sugar with a spoon until you can't see any sugar left (the more you mix it together the lighter the colour will become and the lighter the cakes will be, ideally it should be the colour of cream but don't worry if it isn't they will still taste good).
Break in the eggs and mix together with a balloon whisk or an electric whisk (obviously a balloon whisk can be used by the kids on their own) the mixture should change to a kind of paste, if it doesn't and is kind of curdled then add a small spoonful of your flour.
Take the 125 g flour and remove one spoonful - replace this with a spoonful of cocoa - not hot chocolate powder as this contains extra ingredients such as milk powder and sugar and won't give you a good chocolate kick. Sieve the flour mixture into the butter mixture and mix quickly in with the whisk.
Take a spoonful of the mixture and hold it up above the bowl, turn the spoon over- the mixture should be wet enough for a dollop to drop off the spoon, if not add a splash of milk.
Divide the mixture between the buncases and put in the oven to cook for 10-15 minutes. The cakes are done when they look spongy and are firm not wet when gently pressed. Leave to cool before decorating (or not!) as desired.